
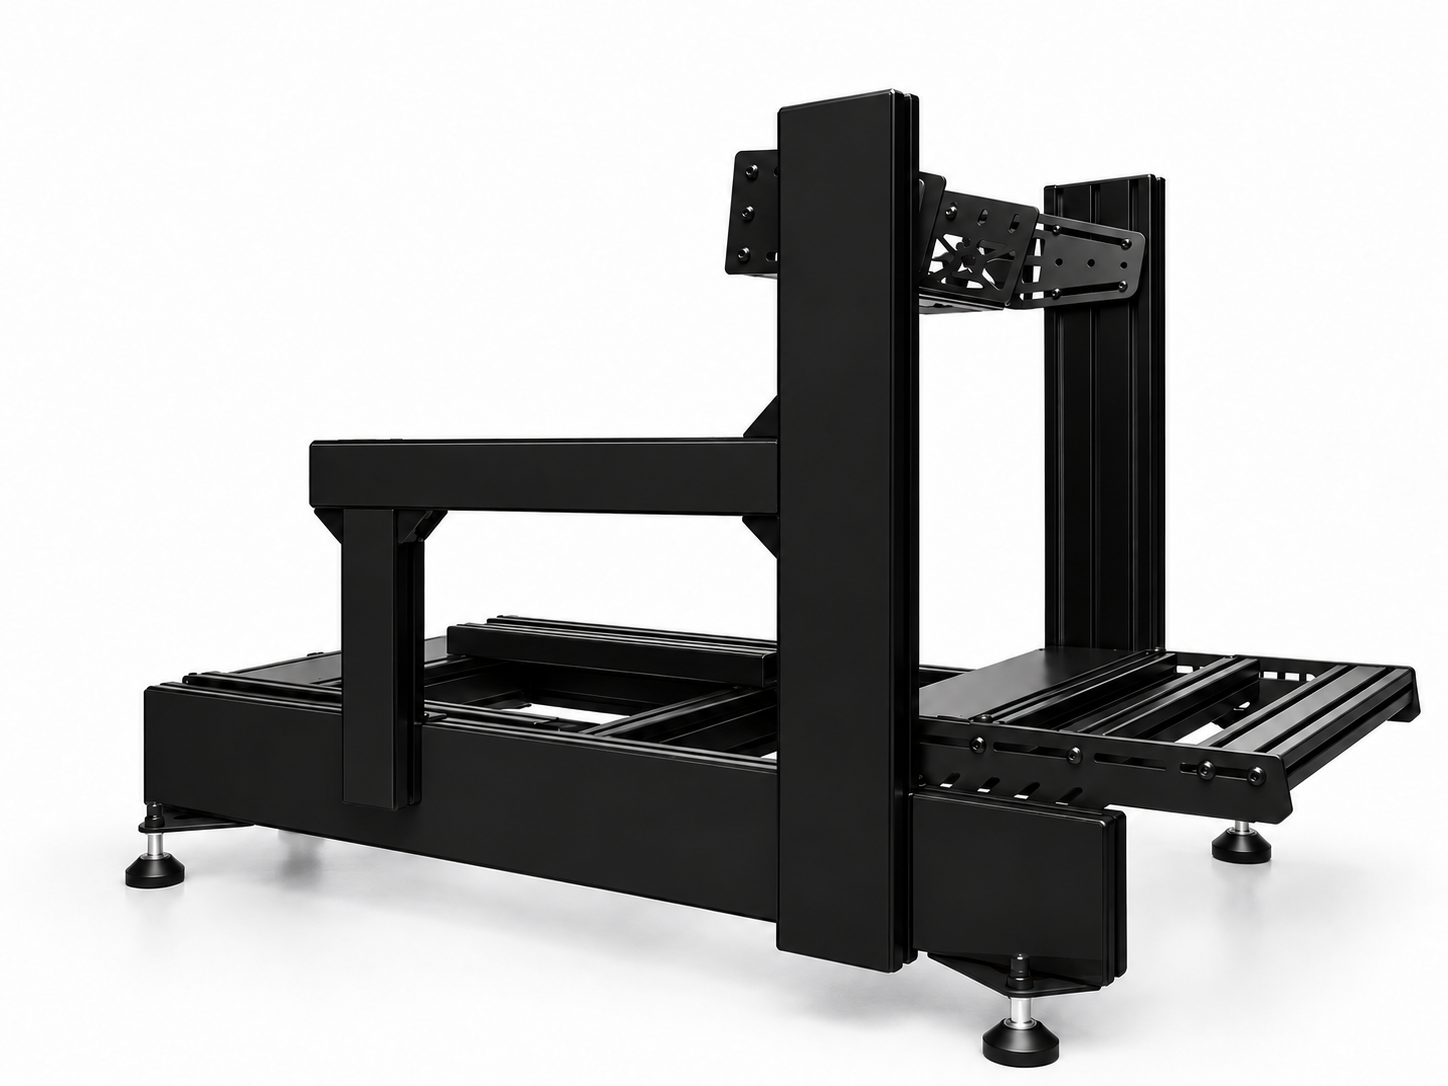

3D assembly guide · SimXPro XT160 with CoreBolt
Build your XT160. Step by step.
Nine steps from box to cockpit. Watch every profile, plate and bolt move into place in 3D, and see how the hidden CoreBolt joints go together.
- Steps
- 9
- Profiles
- 15
- Footprint
- ± 1300 × 650 mm
- Joints
- CoreBolt

Interactive manual
Assembly in 3D
Drag to rotate · Right-click to move · Scroll to zoom · Arrow keys for steps
Loading the 3D model…
New generation · XT160
CoreBolt. Hidden joints, clean lines.
The base frame joints of the new XT160 go together without brackets or T-nuts. Each bolt sits inside the profile, and you tighten it through a small access hole.
1
Turn inTurn two M8×16 bolts part-way into the end of the cross profile.2
Slide inSlide the bolt heads into the grooves of the base profile.3
Line upMove the cross profile to its drilled hole. The hole tells you where.4
TightenHex key through the Ø6.5 mm hole and tighten. The heads stay out of sight.

Ready to build yours?
SimXPro XT160 Sim Racing Cockpit
Built for 30 Nm+ direct drive and 300 kg+ pedal forces, with a 5-year warranty. Configure it in the rig builder with a seat, monitor mount, matching hardware and a wheel or pedal set: every add-on unlocks extra discount, so you get one bundle price.
- Shipping to 40 countries
- 5-year warranty
- MOZA and Fanatec bundles

Prefer to watch?
The full XT160 build on video
The official SimXPro assembly video, from loose profiles to a finished frame.