Watch it in 3D
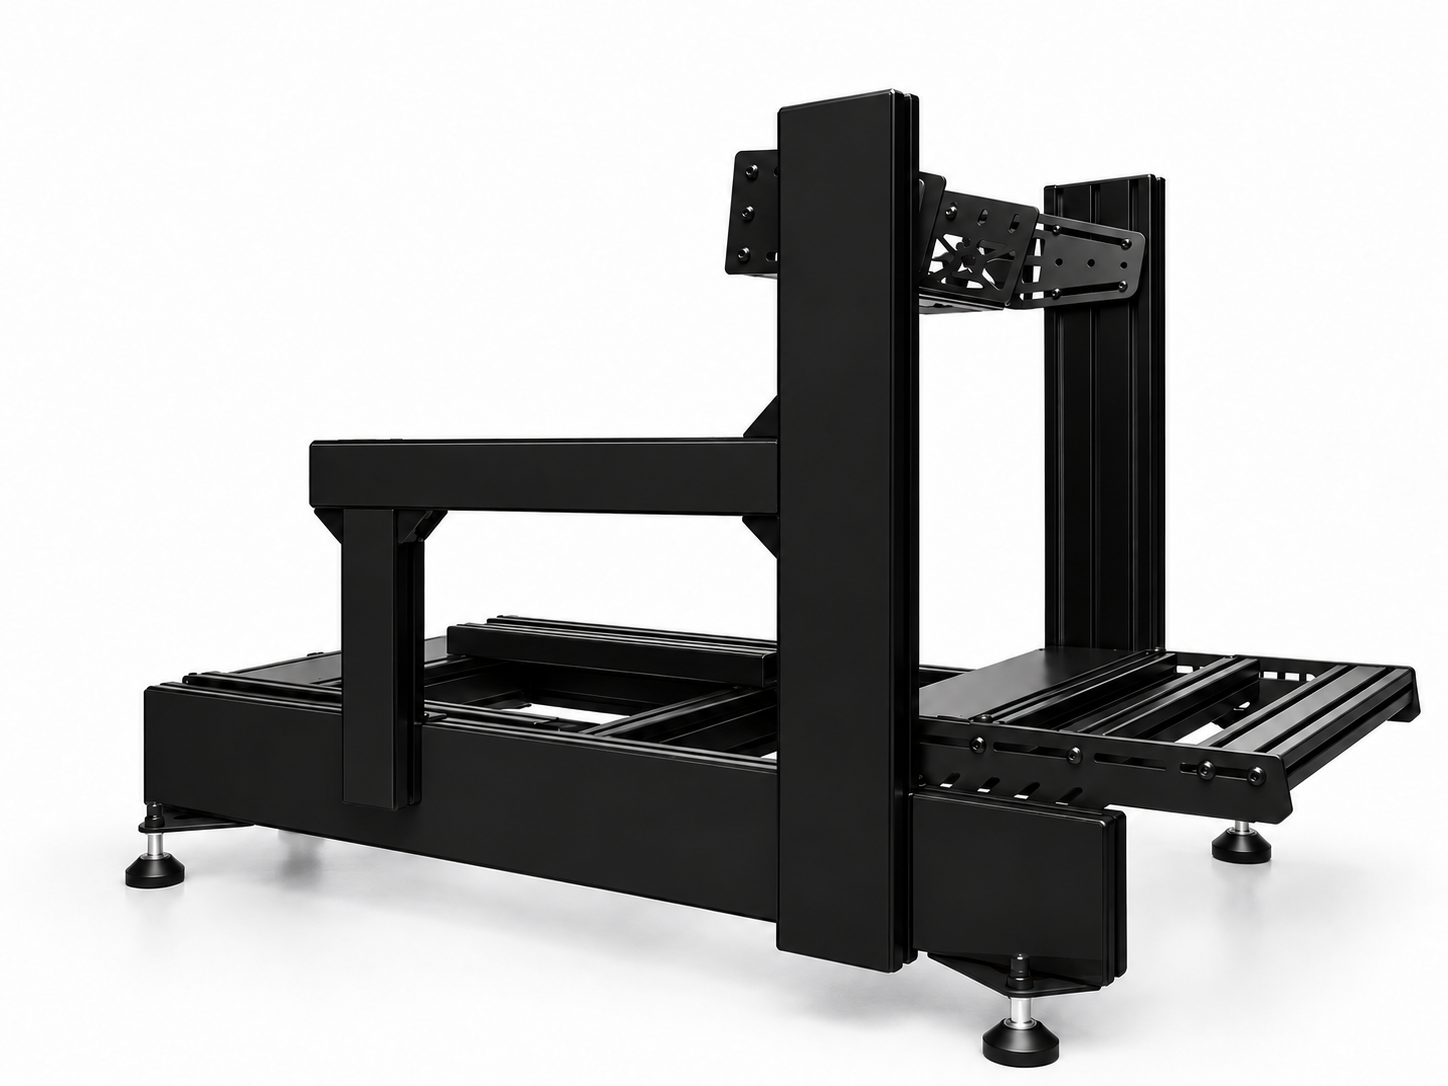
New generation GT V2
Eight short steps from box to finished rig. Every step shows exactly which parts you pick up, so you always know what comes next.
SimXPro GT - Sim Racing Cockpit V2
$387.71 $468.20 View the cockpit
In the box
2× Base rail 2× Upright 1× Seat profile 1× Shifter profile 2× Pedal profile 2× Side plate 1× Backplate 1× Frontwing 1× Wheel plate 6× Corner bracket 2× Seat bracket Bolts, nuts and caps Spare mounting materials to mount a seat or pedal set
Your setup
Left and right as seen from the seat. Change this at any step.
Shifter profile
Left upright
Right upright
Step 1 of 8
Base frame
The two base rails are the foundation. Flat sides face out, and the backplate closes off the rear.
What you need
2× Base rail 1× Backplate 2× M8×16 bolt 4× Felt pad 1× Hex key
Actions
Tap an action with a bold number to replay it in 3D.
Lay the two base rails parallel, flat sides facing out. Turn the threaded ends to the rear. Place the backplate against the rear ends. Fix the backplate with two bolts, one into each rail. Stick the four felt pads under the frame.
Step 2 of 8
Seat profile
The seat profile stands upright across both base rails, held by a seat bracket on each side.
What you need
1× Seat profile 2× Seat bracket 4× M8×16 bolt 4× T-nut 1× Hex key
Actions
Stand the seat profile upright across both base rails. Place a seat bracket under the seat profile on each side, tight into the corner against the inside of the rail. Slide the T-nuts into the grooves, fit the bolts and keep them hand-tight. Keep the position adjustable for your seat. Where the seat profile ends up depends on your seat. You can slide it later.
Step 3 of 8
Uprights and red corner brackets
Both uprights stand on the base rails, flat sides facing out, each held by two red corner brackets: one in front, one behind.
What you need
2× Upright 4× Corner bracket 8× M8×16 bolt 8× T-nut 1× Hex key
Actions
Place the four red corner brackets, two per base rail. Stand the uprights on the base rails, between their brackets. Set both uprights at the same position. Slide in the T-nuts, fit the bolts and keep them hand-tight. Start with the uprights about 15 cm from the front. You can fine-tune this later.
Step 4 of 8
Frontwing
The frontwing bolts across the front of both uprights, just below the wheel plate.
What you need
1× Frontwing 4× M8×12 bolt 4× T-nut 1× Hex key
Actions
Hold the frontwing against the front of both uprights. Slide four T-nuts down the front grooves, then fit four bolts, two per side. Keep the height adjustable for the wheel plate.
Step 5 of 8
Shifter profile
The shifter profile goes on the upright of your choice, pointing towards you, held by two red corner brackets.
What you need
1× Shifter profile 2× Corner bracket 4× M8×16 bolt 4× T-nut 1× Hex key
Your setup
Left upright
Right upright
Actions
Hold the shifter profile against the rear of the left or right upright. Fit one red corner bracket above and one below the profile. Fit the T-nuts and bolts, then set the height.
Step 6 of 8
Pedal deck
The two side plates go on the inside of the frame, high side at the rear. The two pedal profiles sit between them: one at the very front, one close to the uprights.
What you need
2× Side plate 2× Pedal profile 12× M8×16 bolt 8× T-nut 1× Hex key
Actions
Fit the left side plate on the inside of the base rail and upright, high side to the rear, with four bolts. Fit the right side plate the same way, at the same height. Place the front pedal profile in the front-most, highest slot and the rear one in the slot closest to the uprights. Fix each profile end with one bolt through the slot. Fine-tune the spacing to your pedals. Bolts for the pedals themselves depend on your pedal brand and model, so none are listed here.
Step 7 of 8
Wheel plate
The wheel plate sits between the uprights. Its folded sides bolt to the inside of the uprights.
What you need
1× Wheel plate 8× M8×16 bolt 8× T-nut 1× Hex key
Actions
Place the wheel plate between the uprights, folded sides against the inside. Slide eight T-nuts down the inner grooves, two per groove, then fit eight bolts through the slots. Set the height and check that left and right are level.
Step 8 of 8
Finish and final check
Check everything, tighten every bolt and finish with the end caps and stickers.
What you need
5× End cap 40×80 2× End cap 40×40 2× Side sticker 1× Backplate sticker 1× Hex key
Actions
Check the alignment of the base frame, seat profile and uprights. Check both pedal side plates sit at the same height. Tighten every bolt. Fit the end caps, the side stickers on the outside of the base rails and the SimXPro sticker on the back of the backplate. Ready to race.
Get your GT